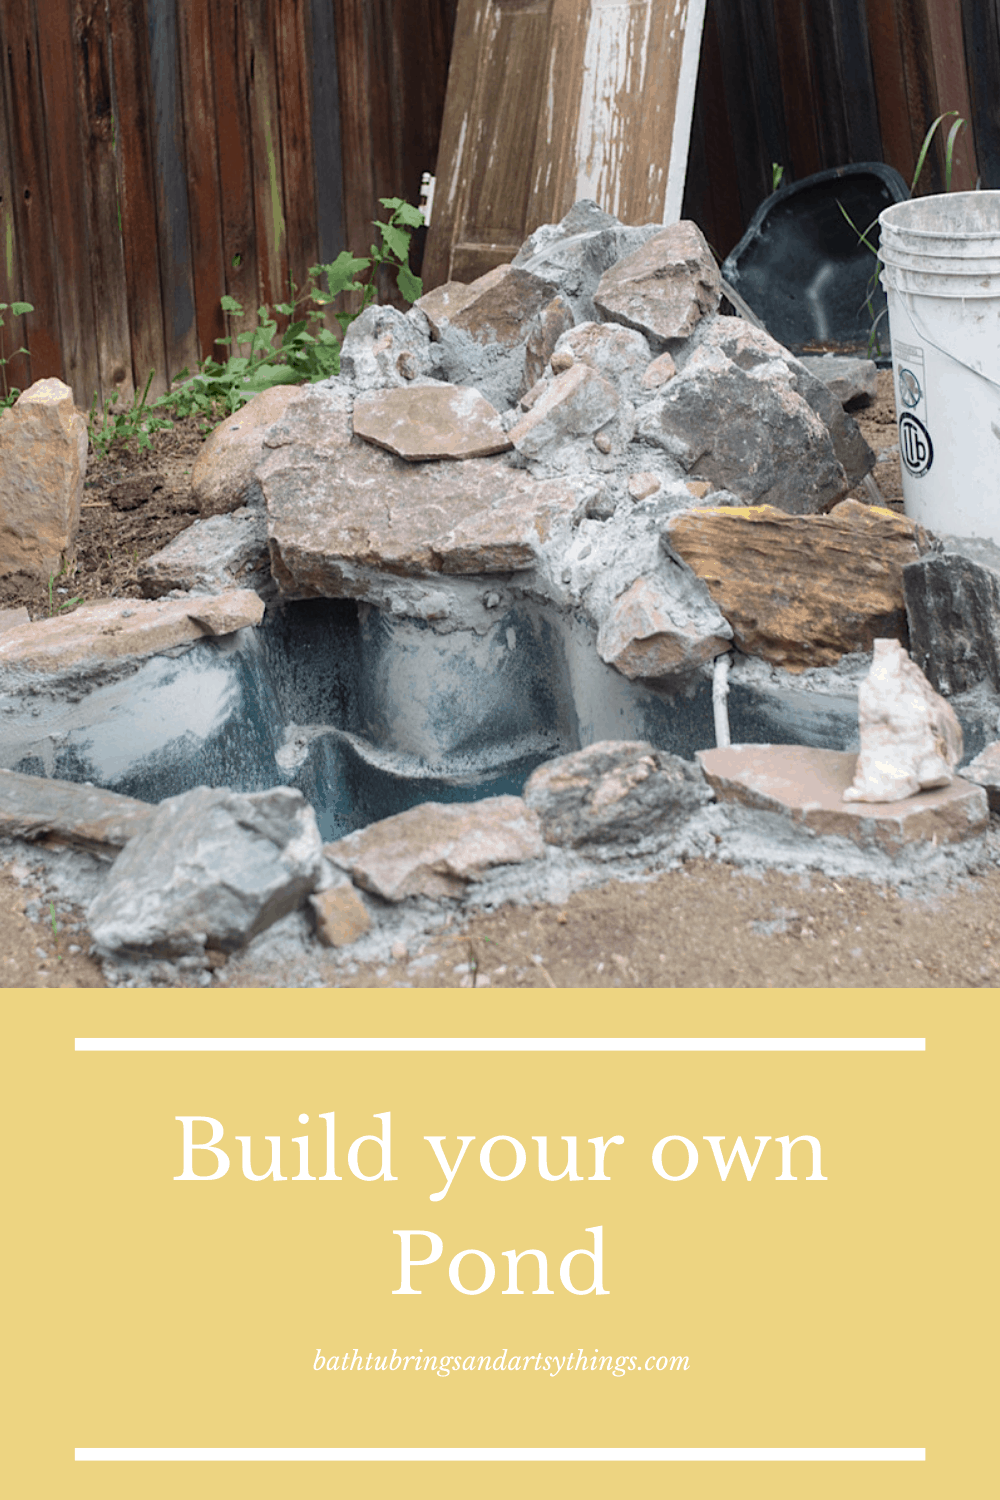
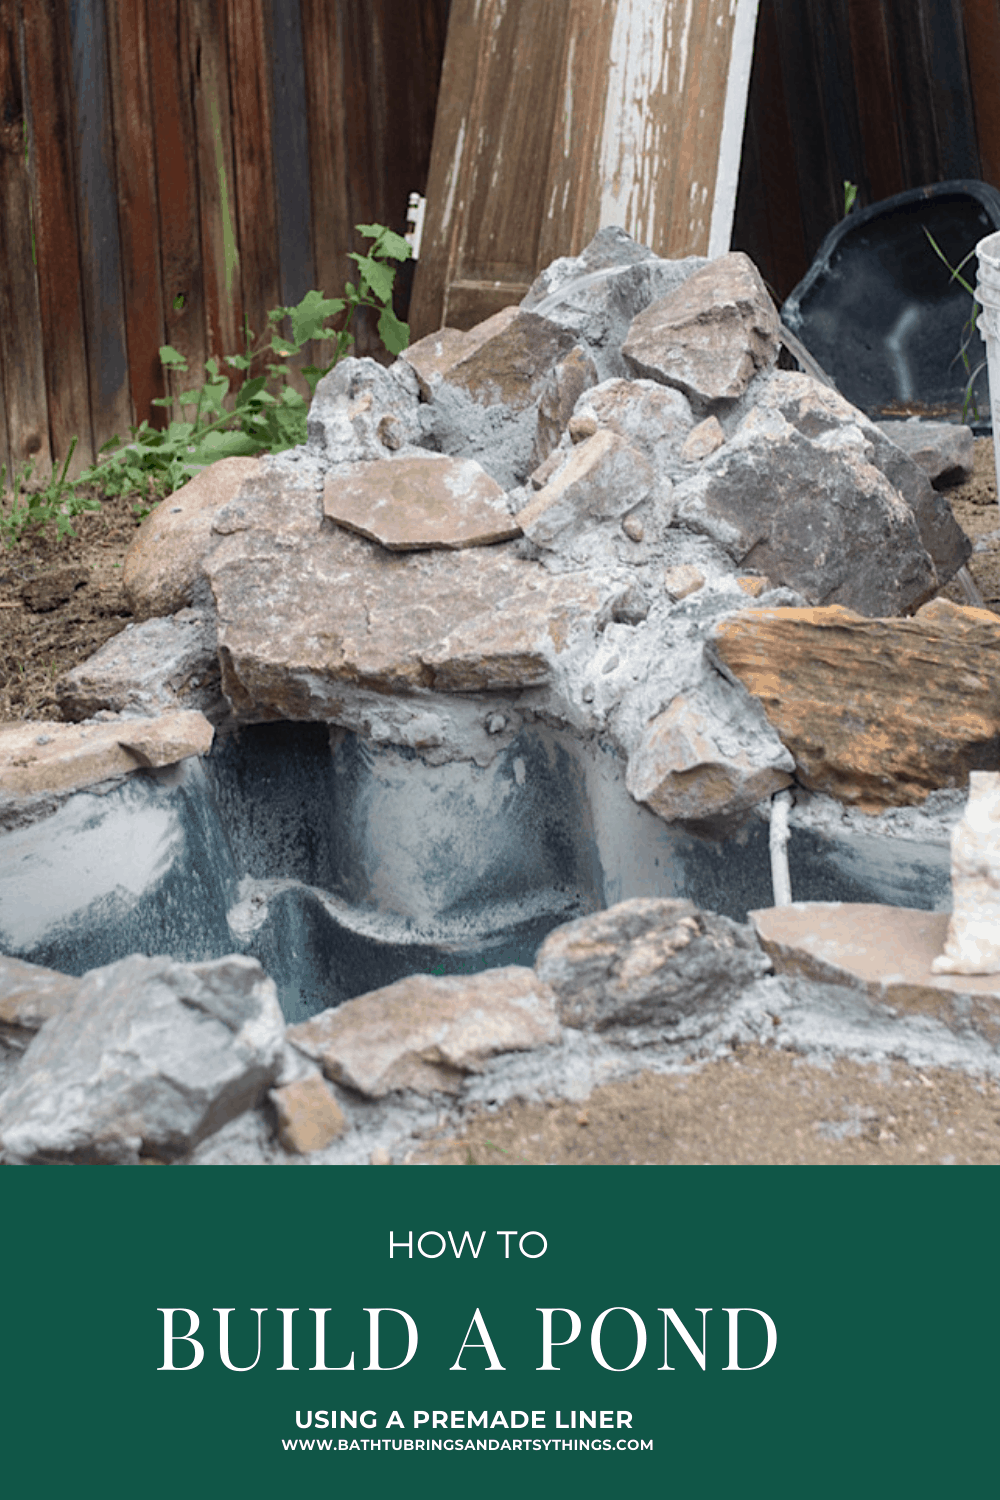
Adding a beautiful water feature to your backyard is something that you can do without spending thousands of dollars. Here is a step by step guide so you can add your own pond using a premade pond liner.
Last year during quarantine, we discovered that for around the cost of $400, we could add our own backyard water feature using a premade pond liner. The major costs are the liner and the pump.
We got our rocks for free off of Craigslist and are slowly going to add flowers and a bench.
Here is what you will need to build your pond:
- Shovel
- Wet Dry Vac
- Mortar
- Water
- Extension Cord
- Plants
- Pump
- Tubing
- Rocks
- Sand
- Pond liner
Building your own backyard pond
Step One: Choose a spot for your pond
Find a mostly even area where you can put your backyard pond. If you are planning on having a waterfall, (or any moving water feature) be sure to take into account any power supplies and outlets that you will need to place your pond nearby.
Consider the types of plants you are wanting to grow around your pond. Will they have enough sun? Are there any nearby trees that will drop leaves in to your pond?
Think and plan for everything you can in this initial stage. We opted for a corner of the yard behind a fence so we could keep kids away and safe.
We also decided to not add fish and use a solar powered pump.
Step Two: Have your yard marked for water lines, gas lines and cable lines
It could be bad if you accidently dug into something dangerous. It is free to have your power companies come out. Check with your area government websites for instructions on getting them out to you.
Step Three: Place your pond liner on the ground and draw an outline where you would like it to be placed
You may need to rotate it a few times to find its prettiest placement.
Step Four: Dig your backyard pond

This is the hardest and longest step. It is extremely important to dig deep enough so your liner will fit tightly and evenly in its space. You don’t want your pond to be tilted or uneven, so take your time digging, placing your liner in and adjusting until it fits deeply in the ground and is level.
You will want to use a level on a piece of wood going across the liner to double (and triple) check.
Step 5: Add a layer of leveling sand to the bottom of your hole
This will help with later shifting on the ground. Add your liner and fill it up to make sure the water is even.
Step 6: Pack dirt tightly around your pond liner so it does not move and will stay in place for years to come
Fill in any gaps with mud. Add a little water and your pump to the liner.
We opted for a solar pump with a backup battery. It works well for lifting the water off the ground into the waterfall, but I have yet to find an area that will charge the pump fully to keep it running all night when the sun is down.
Step 7: Add a rim of rocks and boulders to your water feature

This is to help make your pond beautiful and to keep it in place. Lay out your rocks in various patterns to get the look you love.
If you are planning a waterfall, stack some rocks at various locations to get the water drop you are looking for. You will have to test how the water falls down them before mortaring them in, so be patient and play around until you have everything where you want it.

Hook your pump to some tubing and place the end of your tube where you want the water to come out. You will be mortaring everything into place. Keep this in mind as you add your tubing. You can encase it in the rocks, but it will be hard to replace in the future if something happens to it. I would recommend placing the tubing in an accessible area to be safe.
Step 8: Mix mortar and water to cement your rocks in place

Test your waterfall as you go. It will most likely take time to get it the way you envision. Leaks may also pop up in between the rocks and mortar, so allow the mortar to dry, test for leaks and add more mortar as needed.
Step 9: Once there are no leaks, you can fill your new pond completely up with clean water
To empty out any old dirty water, use a wet dry vac in the reverse setting and drain the pond. If you are adding fish, you will want to treat your water and check the ph to make sure they will thrive before you place them in.

Step 10: Decorate
Add your favorite plants, an arch, string lights, a tree stump planter or a bench and make this area your own! Here are some types of plants that will give you an everblooming garden!
I would love to hear from you and see pictures of your amazing backyard pond! It is time consuming and takes patience but it is so worth it to create something so beautiful that you can enjoy for years to come!
Check out this great hose stand to complement your pond!


You must be logged in to post a comment.